Everything in reach
Pin apps and folders, keep running apps visible, and browse files without leaving the dock.
Docktopus for macOS
Pin apps and folders, preview windows on hover, and run a compact dock or a full taskbar on any screen edge.
Three distinct themes. Light and dark presets. Free to try, one purchase to keep.
Your everyday dock
Launch your favorites, switch windows, and keep the right tools beside them. Use Docktopus as a compact dock or a full taskbar, on the screens you choose.
The setup wizard guides you through importing your macOS Dock, choosing a theme, and adding widgets and menu bar tools. Review your choices before saving, then enable or skip optional permissions.
Pin apps and folders, keep running apps visible, and browse files without leaving the dock.
Hover over a running app to preview its windows, then click the one you need.
Choose any screen edge, adjust size and magnification, and add only the widgets you need.

Place the dock at the bottom, top, left, or right. Choose alignment, scale, magnification, auto-hide, and fullscreen behavior.
Import your macOS Dock, pin apps and folders, show running apps and badges, and browse folders as lists or grids. Right-click for app actions and Finder.
Hover over a running app to browse its window previews without switching away from your work. Window titles help you find the right one; scroll or use the arrows when more windows are available than fit on screen. Click a preview to switch directly to that window.
Setup wizard
On first launch, five steps guide you through Dock, Theme, Widgets, Extras, and Review. Move back and forth as you explore; your choices are saved when you select Set Up Docktopus.
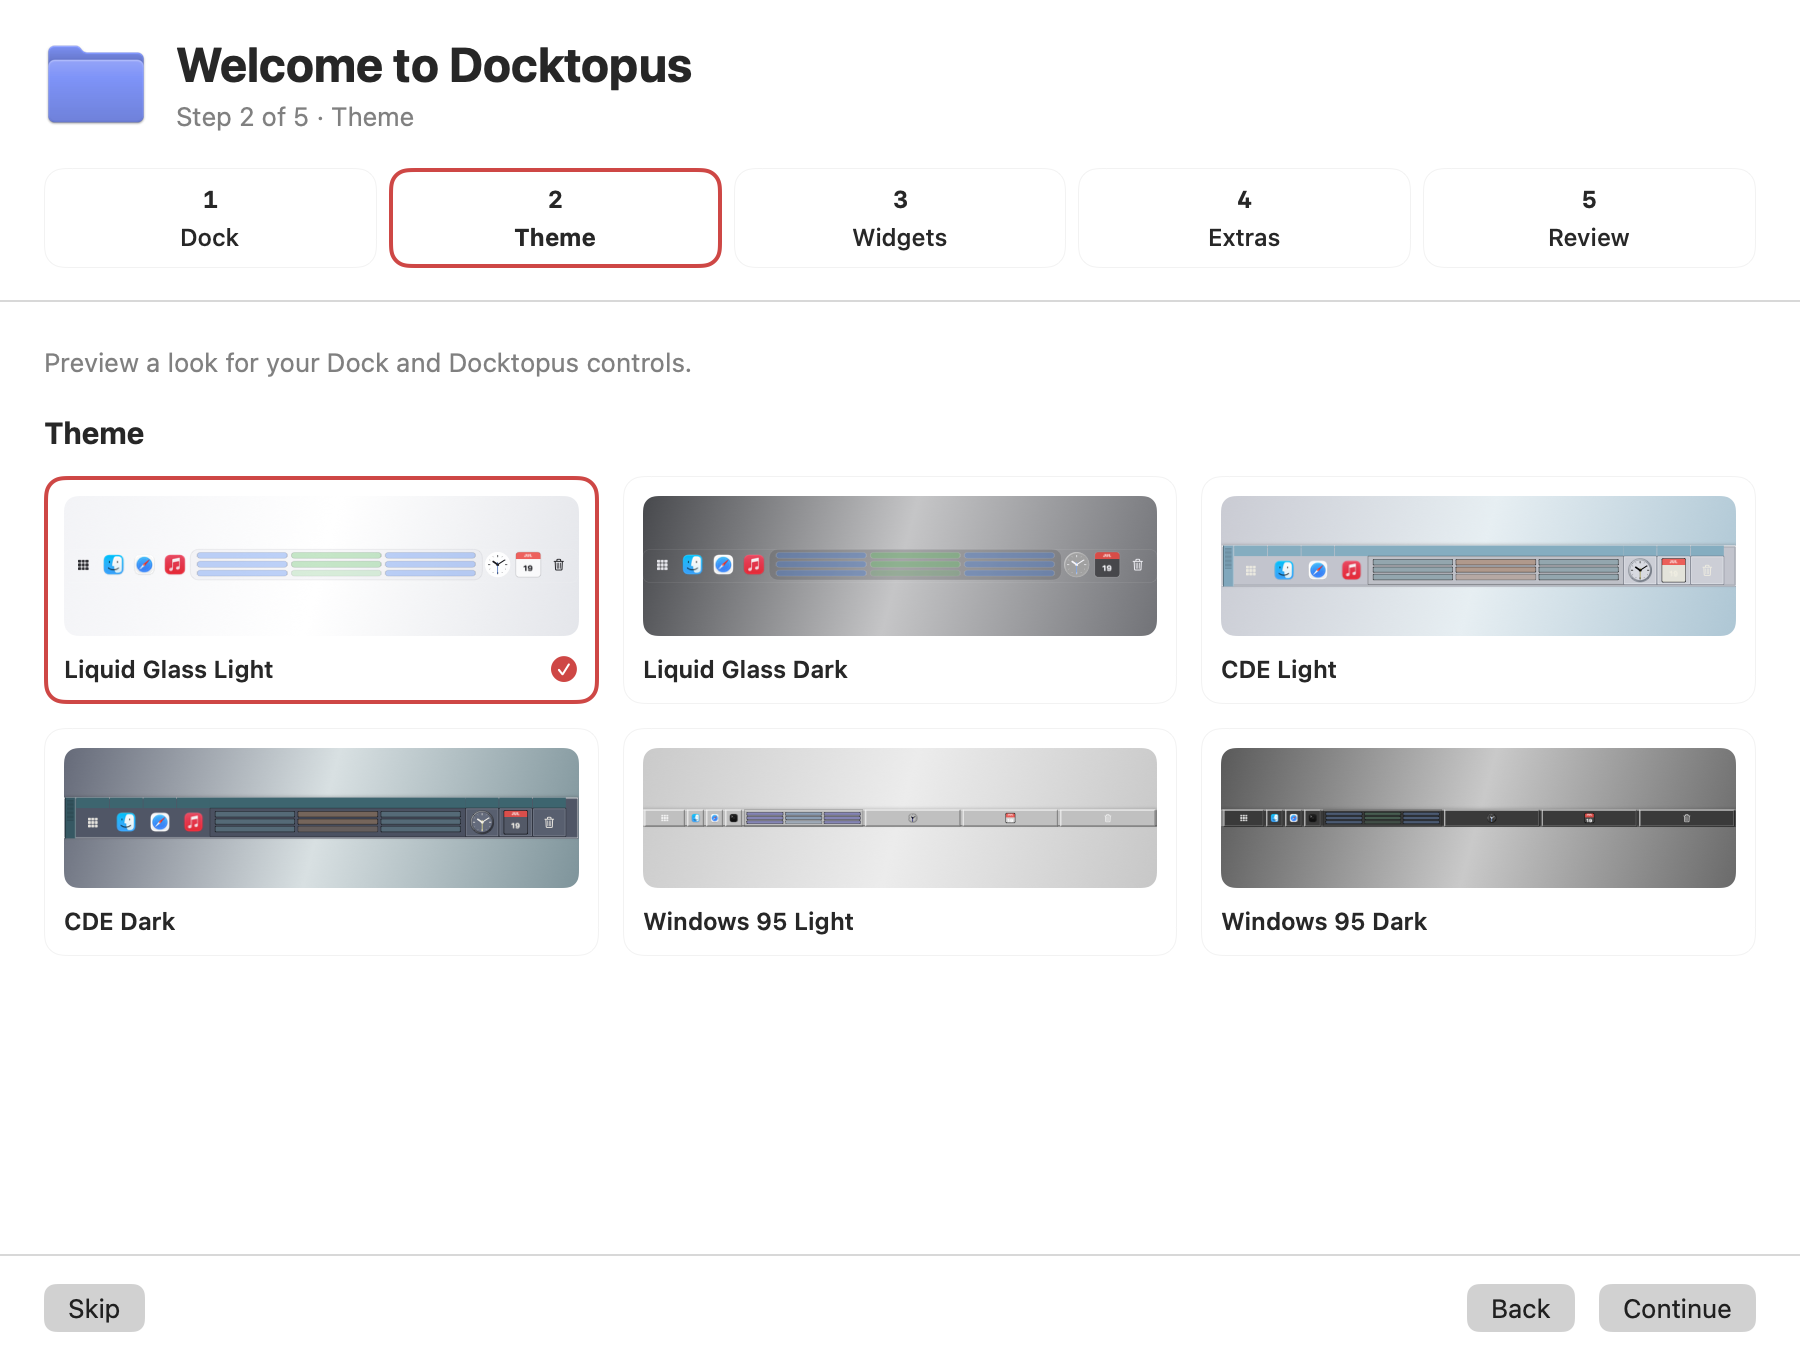
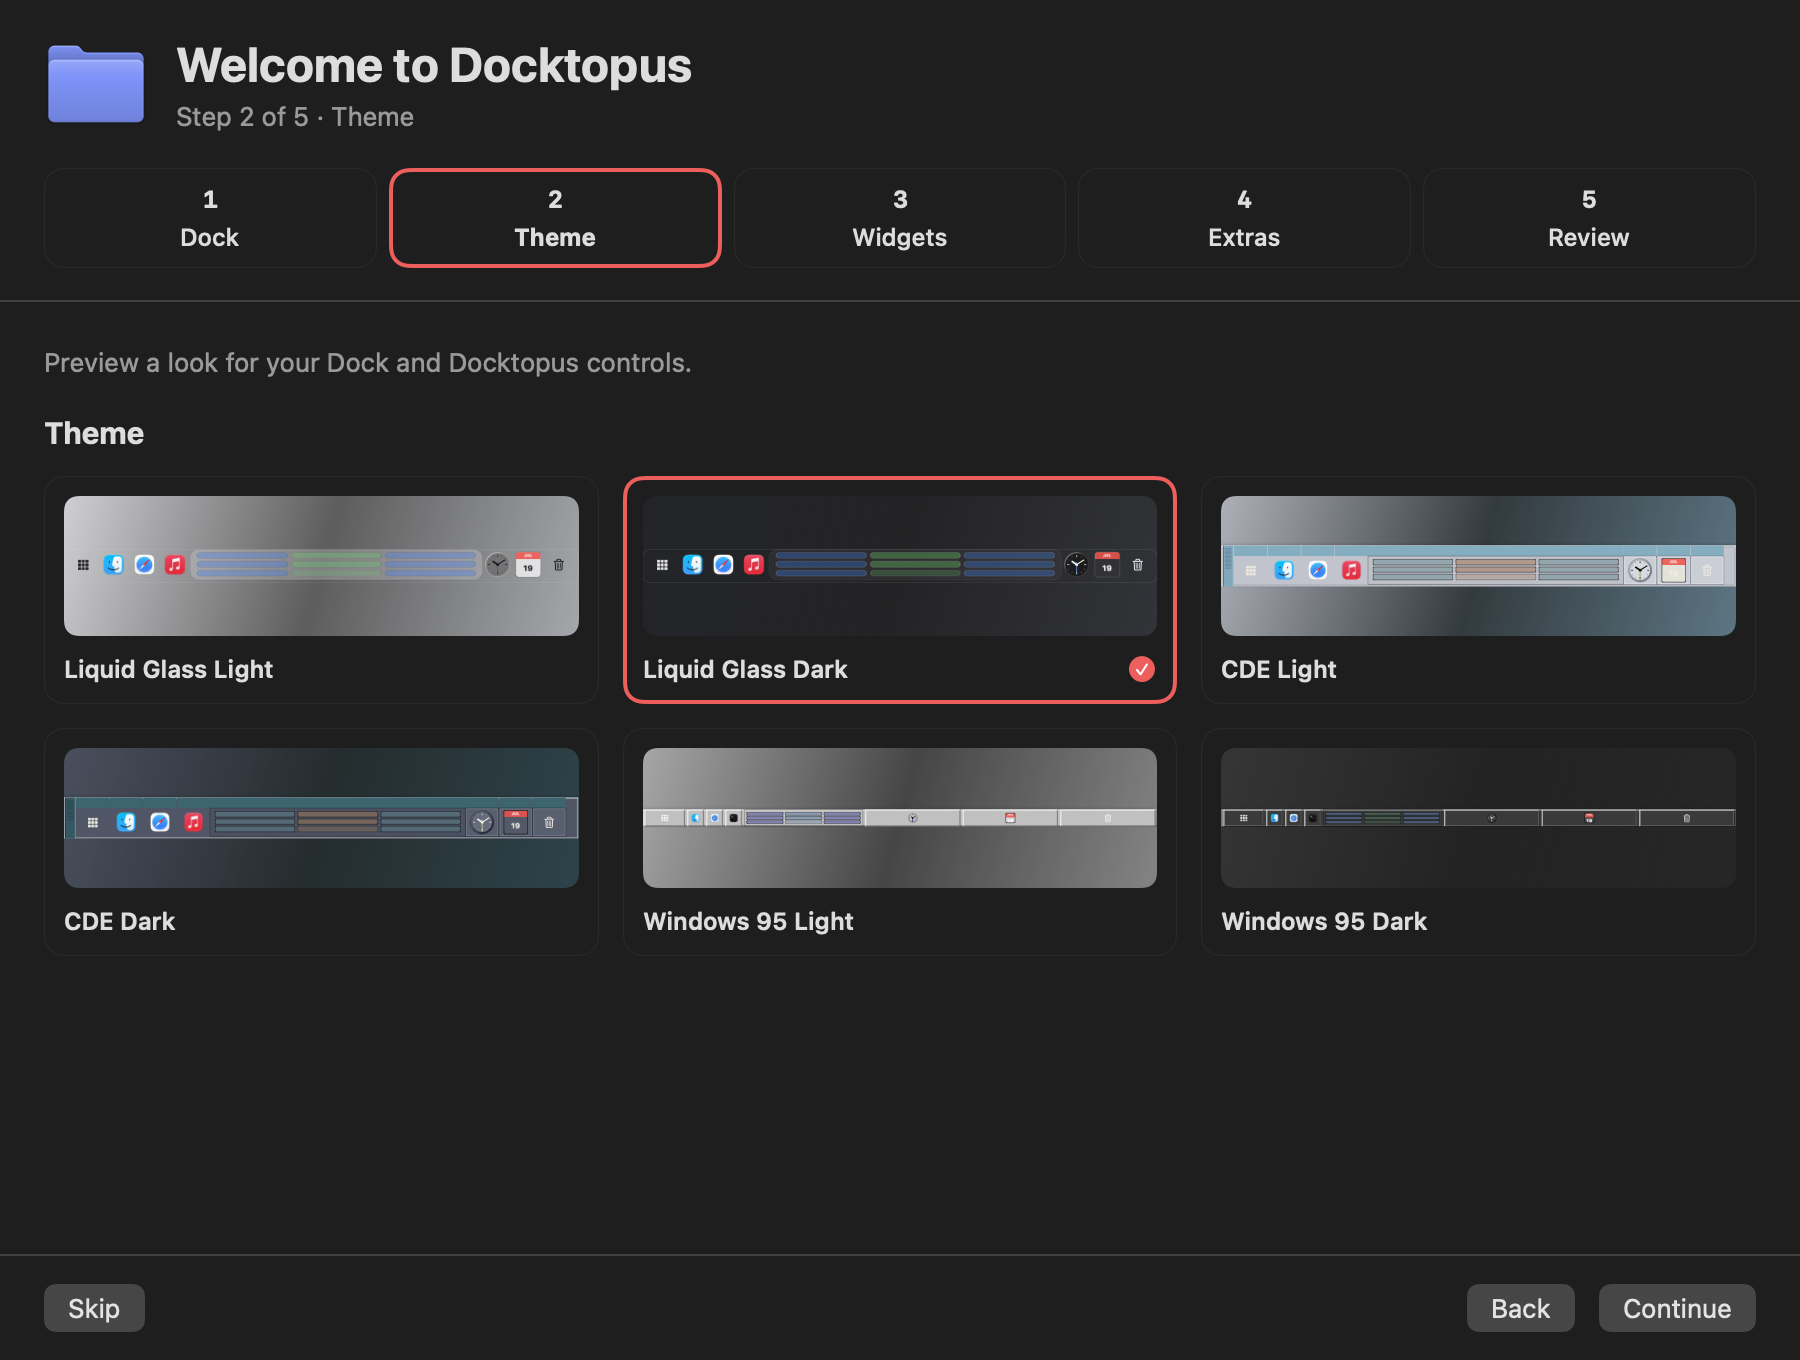
The theme step previews Liquid Glass, CDE, and Windows 95 in light and dark. Click a screenshot to view it full size.
Import apps, folders, and spacers from your macOS Dock, with the option to carry over its layout and behavior.
Preview a theme, select Dock and menu bar widgets, and choose a wide center widget. Extras let you configure features such as the Window Switcher and Dynamic Island, plus whether Docktopus starts at login.
Check the Dock preview and summary, or jump back to edit a choice. Optional permissions come next, with an explanation of the features they enable. Skips are remembered, and you can revisit them in Settings → Diagnostics.